Description
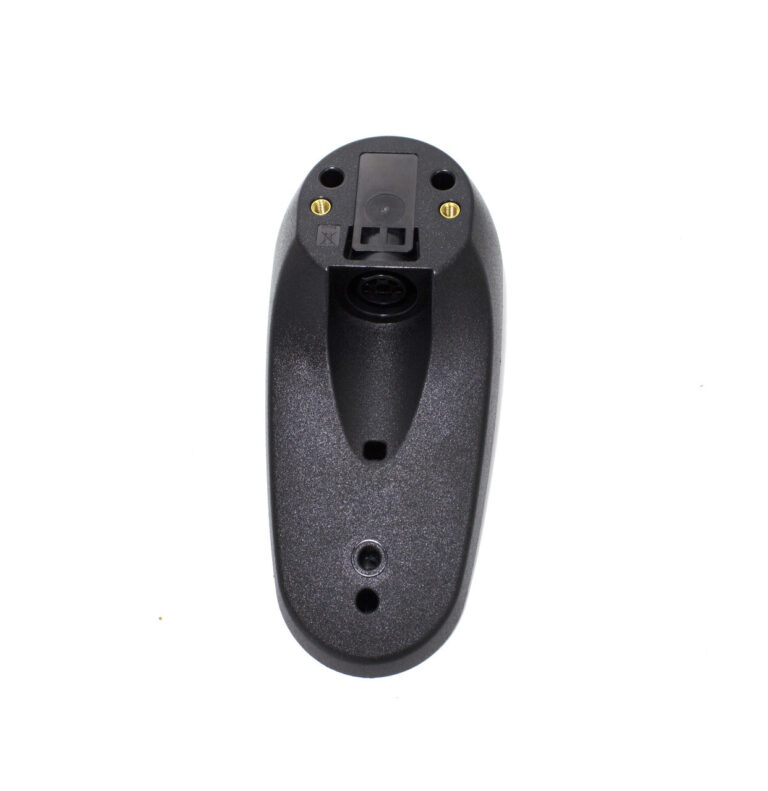
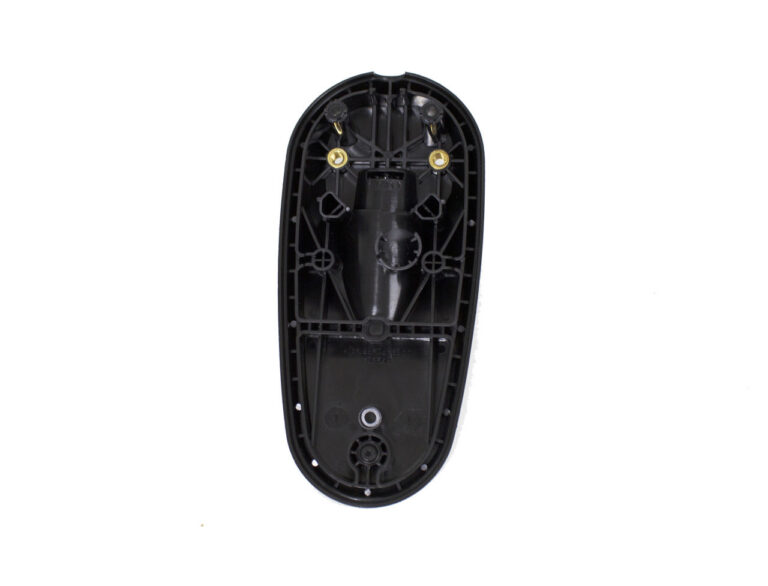
Securing Your Drive with a Fresh GC2/GC3 Bottom Case Housing of Power Chair Joystick
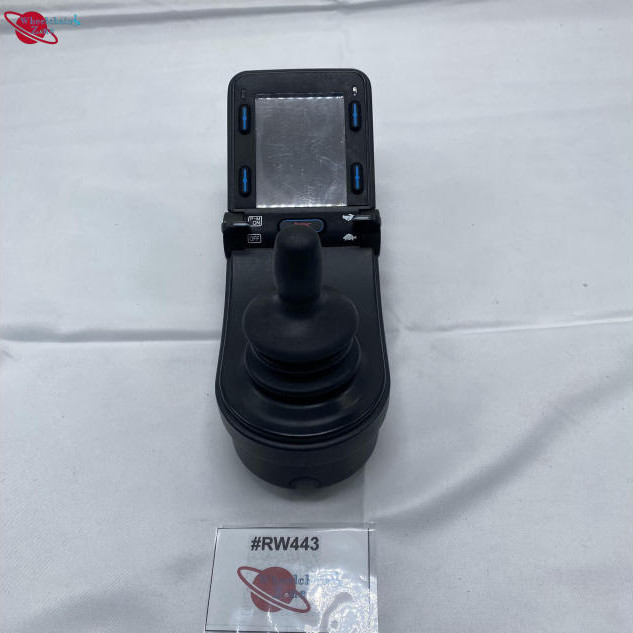
Your Power Chair Joystick gives you the independence to navigate your home, workplace, and local community with confidence. At the heart of that daily mobility is your control console the central hub that translates your hand movements into smooth acceleration, turning, and braking.
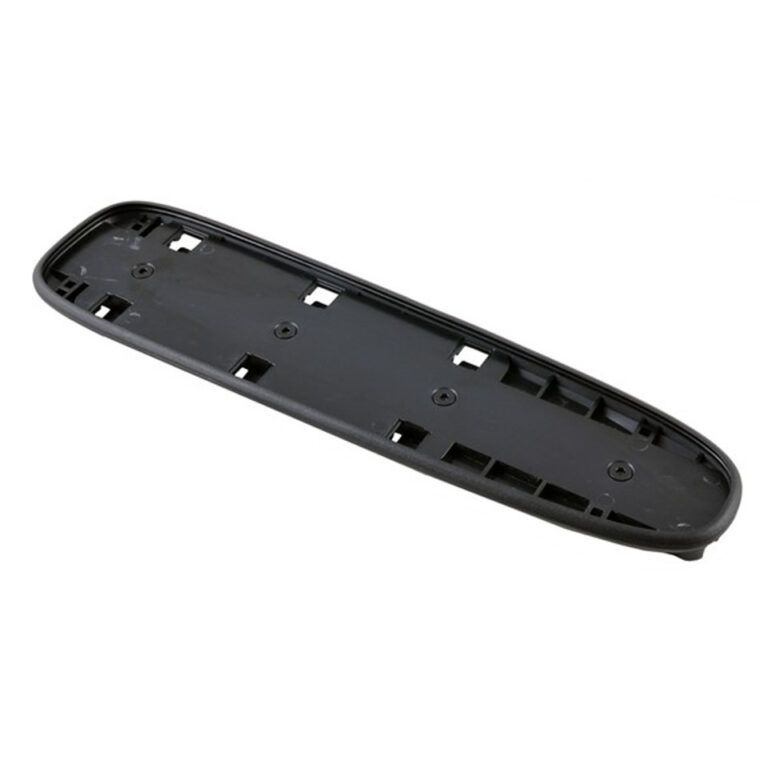
Because this lower housing sits directly above armrest brackets and pivot points, it frequently absorbs shocks from outdoor bumps, accidental collisions with doorframes, and constant vibration. Replacing a damaged or cracked casing with a dedicated GC2/GC3 Bottom Case housing is the best way to secure your joystick for wheelchair controls, eliminate housing rattles, and maintain structural protection for your electronics.
Why the Lower Housing Structure Is Critical for Power Chairs
When the bottom shell of your control module cracks, warps, or loses its mounting screw threads, the entire controller can wobble on your armrest. A compromised lower casing leaves internal components vulnerable to strain and environmental damage.
Installing a fresh, structurally sound bottom housing resolves several common equipment issues:
-
Loose or Wobbling Controller: Restores firm thread engagement for mounting screws, keeping the joystick module locked solidly in place on your armrest bracket.
-
Cable Strain Relief: Protects the main wiring harness where it exits the bottom of the controller, preventing frayed wires and intermittent signal loss.
-
Under-Seat Moisture Protection: Prevents water splashes, road spray, and accumulated dust from entering through the underside of the controller housing.
Industrial-Grade Polymer Built for Daily Mobility Demands
Mobility equipment hardware must withstand continuous movement and outdoor conditions. Low-grade aftermarket plastics often crack around screw pilot holes or flex under light pressure, causing annoying squeaks and loose seams.
The GC2/GC3 Bottom Case is precision-molded from industrial-grade, high-impact ABS polymer specifically selected for power mobility applications:
This ensures your internal circuit board seats flat and stress-free during assembly.
Broad Compatibility Across GC2 and GC3 Power Chair Joystick
Whether you drive a compact folding travel chair or a full-featured rehab powerbase, leading manufacturers rely on standardized GC2 and GC3 electronic housing dimensions.
How Replacing Your Bottom Casing Restores Stability and Control
Over years of daily use, repeatedly adjusting your armrest can strip the plastic threads inside an old bottom shell. Replacing the lower casing restores a tight, vibration-free seal across the entire unit.
Simple Installation Step-by-Step:
-
Power Down: Turn off your power chair completely at the main power button and disconnect the battery or main connector for safety.
-
Unmount the Unit: Remove the mounting screws holding the bottom casing to your armrest bracket and carefully disconnect the main cable assembly plug.
-
Transfer Internal Module: Separate the upper and lower housing halves, transferring the internal circuit board and rubber boot seals into your new GC2/GC3 bottom case.
-
Reassemble and Secure: Align the top case over the new bottom case, thread the retaining screws firmly into the reinforced posts, and reattach the assembly to your armrest bracket.
you may also like some of our products:
Comparing Essential Replacement Parts for Power Chairs
Understanding how the upper shell, lower shell, and internal accessories work together helps you make smart repair decisions for your equipment.
| Replacement Component |
Primary Function / Location |
Ideal Use Case |
Mounting Method |
| GC2/GC3 Bottom Case |
Lower structural housing & bracket anchor |
Fixing stripped threads, loose mounts, & lower cracks |
Screw-mount to top shell & bracket |
| GC2/GC3 Top Case |
Upper faceplate & display window shield |
Repairing cracked faceplates & faded tops |
Screw-mount to bottom case |
| Joystick Rubber Boot |
Flexible collar around metal stem |
Sealing upper stem gap against rain & dust |
Slip-fit over control shaft |
| Joystick Cable Assembly |
Multi-pin wiring harness |
Fixing signal drops, power cuts, & error codes |
Quick-connect plug |
Daily Maintenance Tips for Power Chair Controller Housings
To keep your new GC2/GC3 bottom case and entire control housing in top condition for years to come, keep these simple care practices in mind:
-
Avoid Over-Tightening Mounting Screws: When attaching the bottom housing to your armrest bracket, turn screws until snug. Avoid over-torquing, which can stress plastic threads unnecessarily.
-
Inspect Wire Strain Relief: Check the bottom cable entry point periodically to ensure the harness isn’t pulled tight when swinging your armrest out for transfers.
-
Clean Underside Seams: Wipe down the lower casing seams monthly with a damp cloth to prevent grit and road grime from settling around mounting joints. visit the official Pride Mobility makers site
Protect Your Investment and Drive with Confidence
Don’t let stripped screw threads or a cracked lower shell leave your control unit loose, rattling, or exposed to damage.
Only logged in customers who have purchased this product may leave a review.





Reviews
There are no reviews yet.